
2. Slide the Point Under a Stitch
Hold the seam ripper comfortably in your dominant hand.
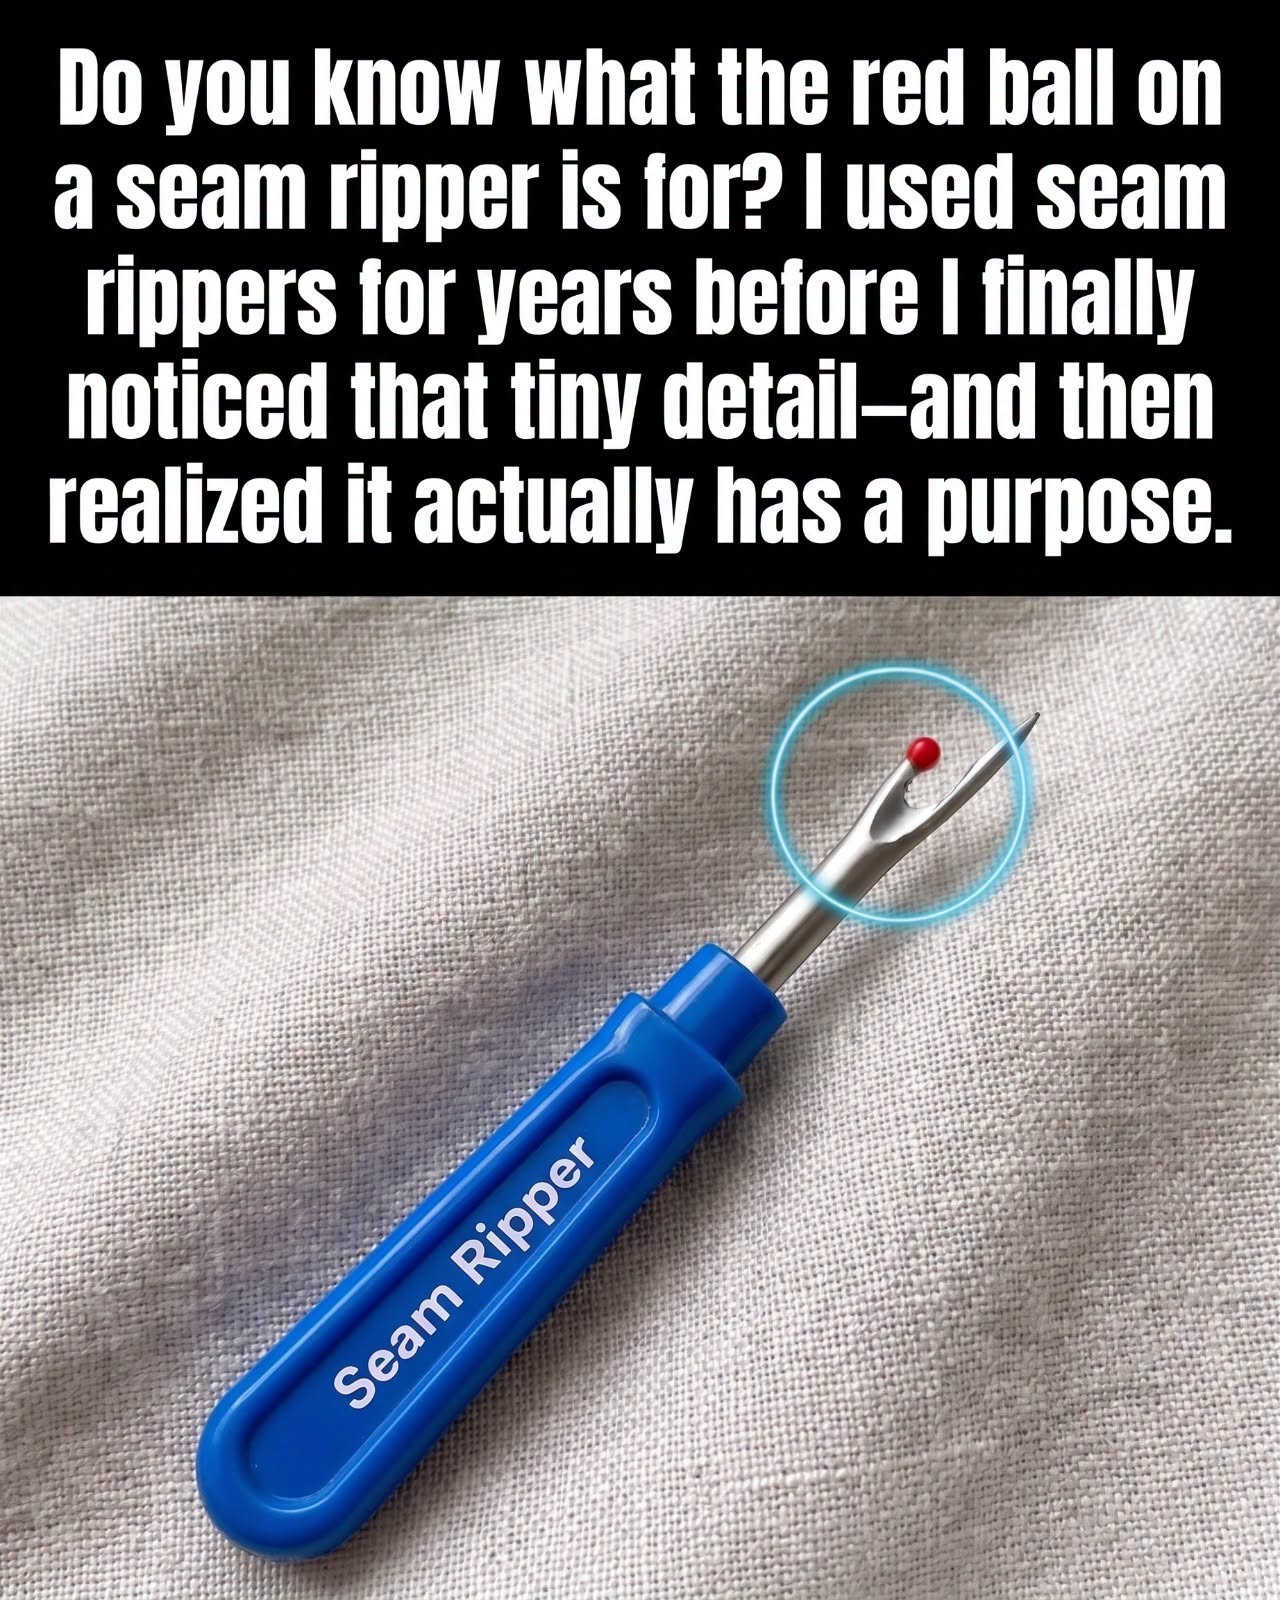
Use the pointed end to gently slide underneath one stitch.
Don’t force it.
If the tool doesn’t slide underneath easily, reposition it rather than pushing hard.
3. Cut the Thread
Once the thread is resting against the cutting edge, gently lift the seam ripper until the thread is cut.
You may hear or feel a tiny snap.
Be careful to avoid catching the fabric with the sharp part of the tool.
4. Continue Along the Seam
Move to the next stitch and repeat the process.
You don’t necessarily need to cut every single stitch individually.
For longer seams, cutting every few stitches can allow the remaining thread to loosen enough that you can pull it away.
5. Pull Out the Loose Threads
Once enough stitches have been cut, gently separate the fabric layers.
Use your fingers or tweezers to remove loose threads.
Don’t yank aggressively, especially with delicate fabrics.