
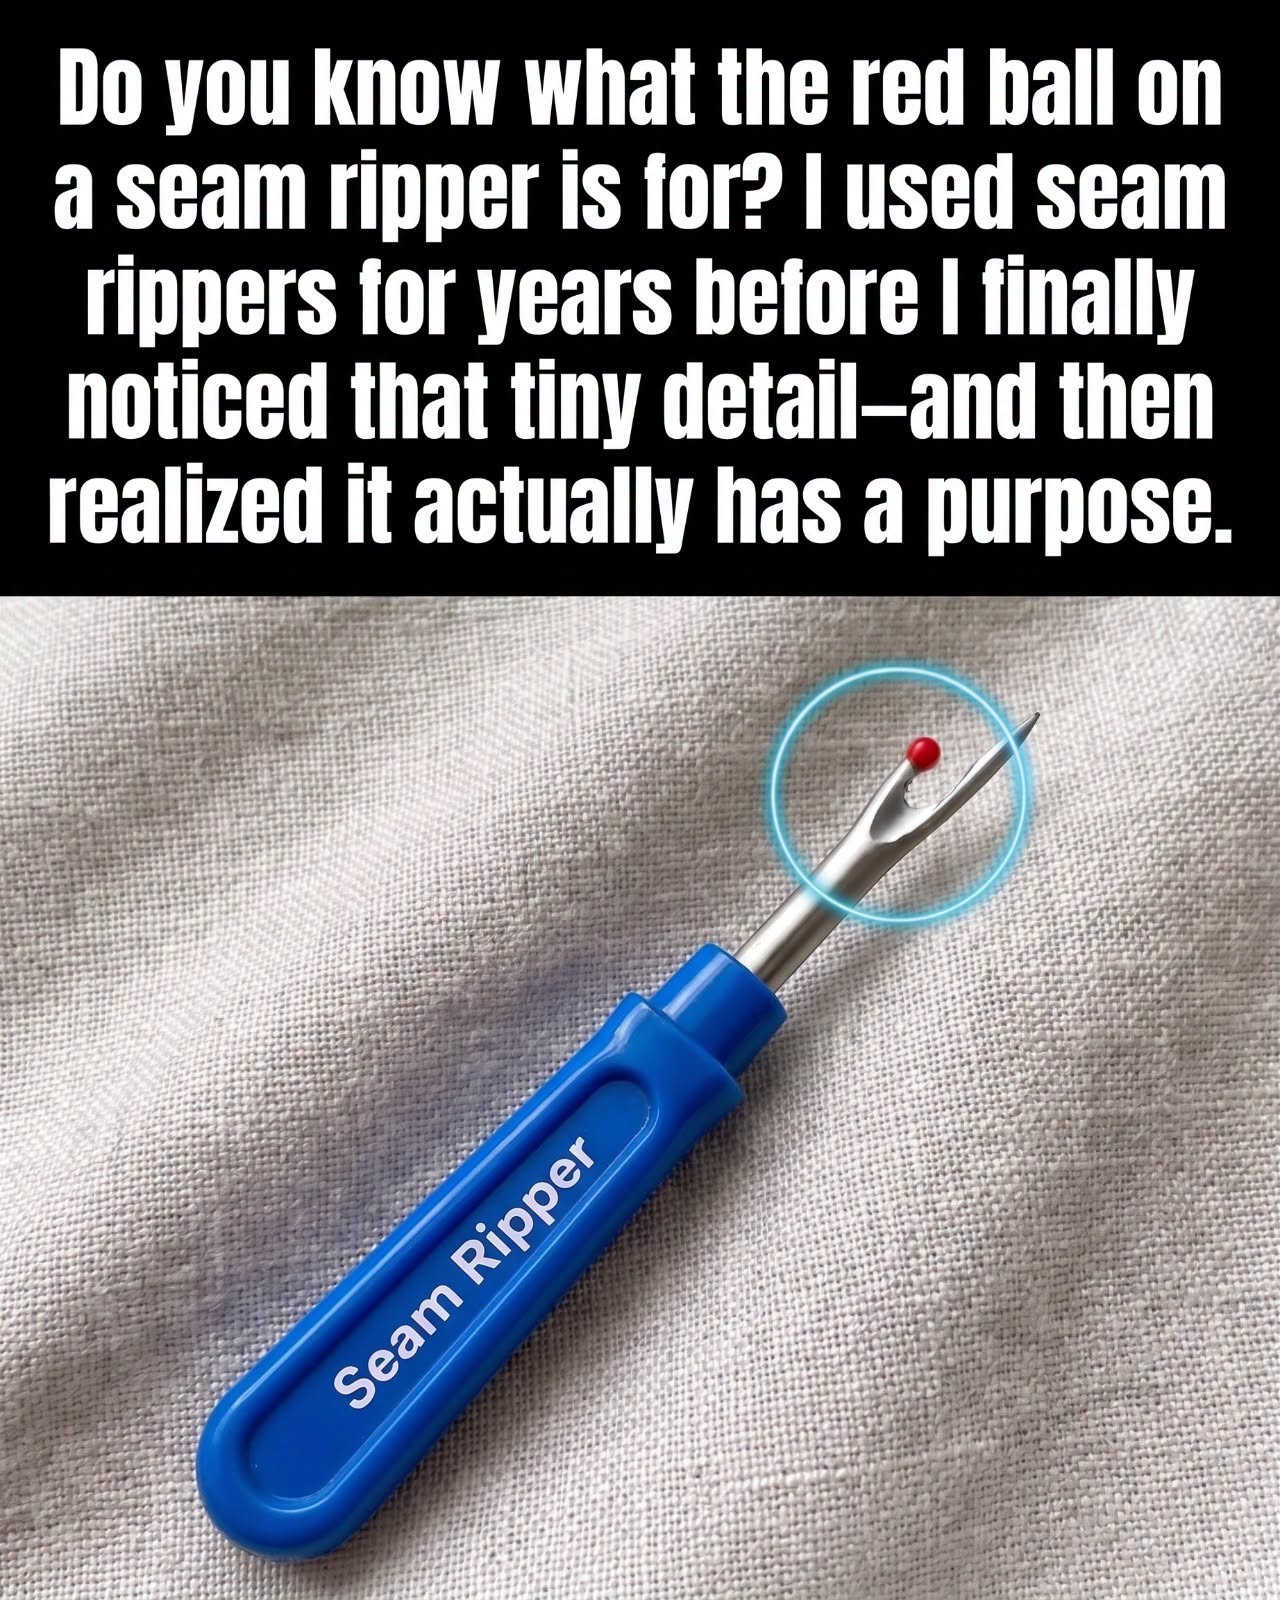
You might wonder why you can’t simply use small scissors to remove a seam.
You can—but a seam ripper usually gives you much better precision.
Scissors require enough room to get their blades underneath the thread. That’s not always possible when you’re working with a tight seam.
A seam ripper’s pointed end can slip underneath a single stitch, allowing you to cut the thread while minimizing the risk of cutting the surrounding fabric.
It’s especially useful when:
- Removing a seam
- Correcting sewing mistakes
- Taking out basting stitches
- Opening buttonholes
- Removing labels
- Altering clothing
- Replacing zippers
- Removing decorative stitching
How to Properly Use a Seam Ripper
Using one is easier than it looks.
1. Identify the Stitches You Want to Remove
Lay the fabric flat and examine the seam carefully.
Determine exactly which line of stitching needs to come out.
If you’re removing an entire seam, it’s usually easier to work from one end rather than randomly cutting stitches throughout the middle.