

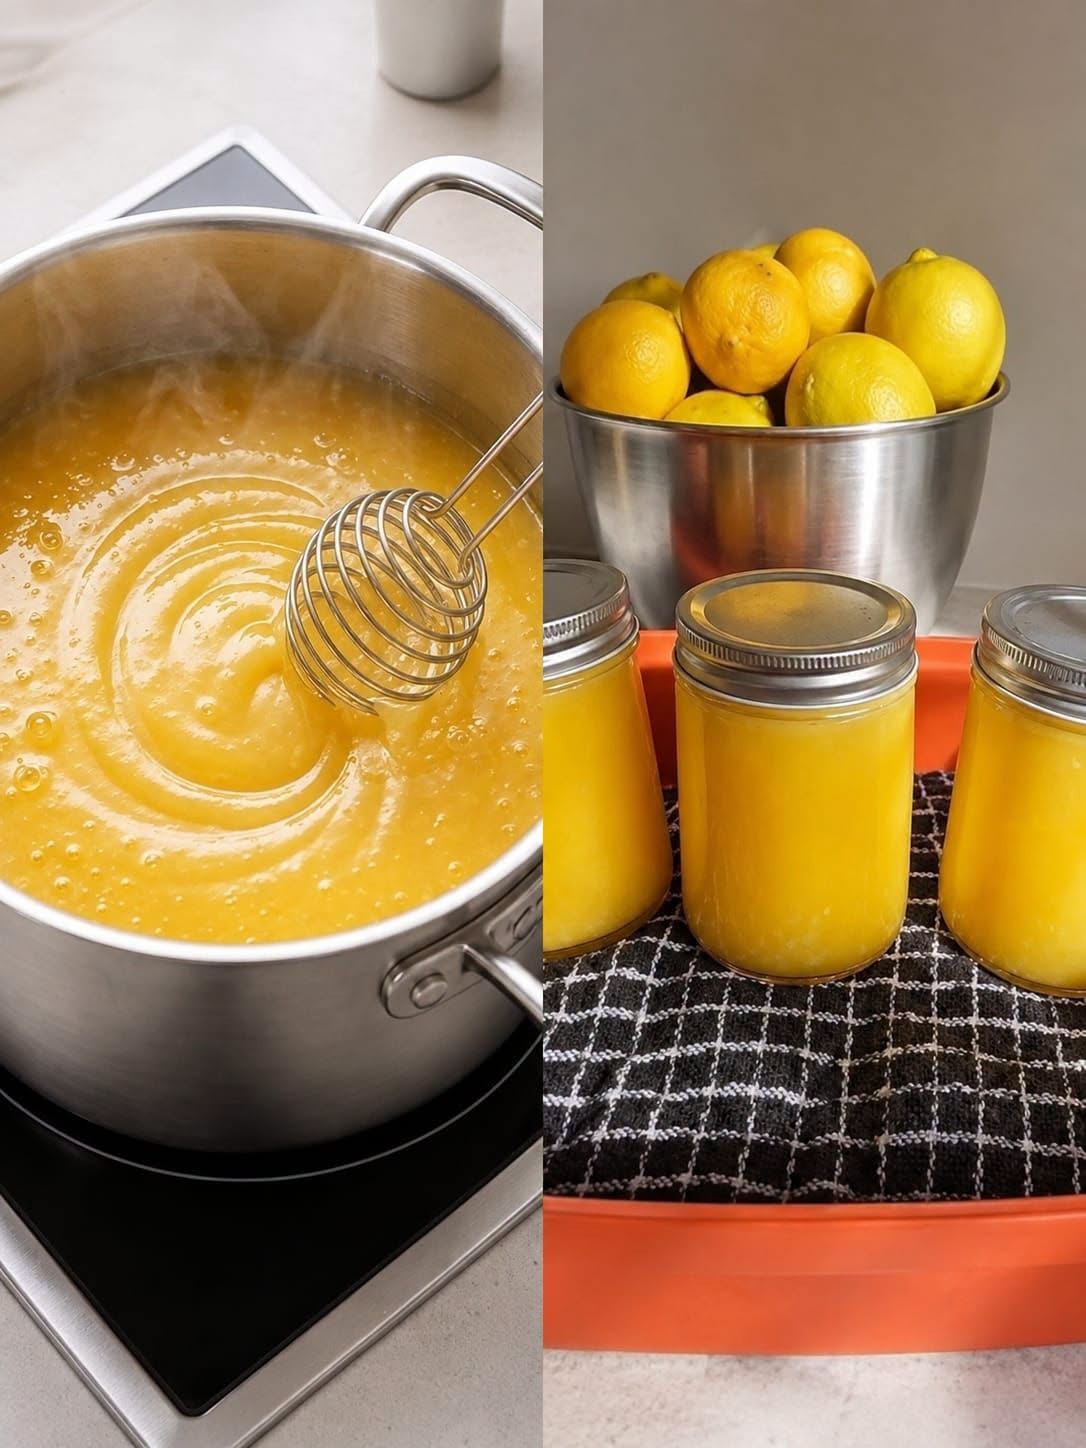
Cook the Lemon Curd Slowly
Pour the lemon mixture into a saucepan.
You can also cook it using a double-boiler method. To do this, place the heatproof bowl over a saucepan containing a small amount of gently simmering water.
Cook the mixture over low to medium-low heat.
Stir constantly with a silicone spatula or whisk as the mixture heats.
This is the most important stage of making lemon curd. The eggs need gentle, even heat so they can thicken the mixture without cooking too quickly.
Avoid using high heat. If the mixture becomes too hot too quickly, the eggs can scramble and leave small cooked pieces in the curd.
Continue cooking for approximately 8–12 minutes. The exact time can vary depending on the heat level and the size of your pan.
As the mixture cooks, you will notice it becoming thicker.
Check the Curd
You can check the lemon curd in a few simple ways.
One of the easiest methods is the spoon test.
Dip a spoon into the warm curd and lift it out. The curd should coat the back of the spoon.
Run your finger through the curd on the back of the spoon. If the line stays visible instead of filling in immediately, the curd is ready.
You can also use a kitchen thermometer. The curd will generally thicken at around 170–175°F (77–80°C).
Do not worry if the curd still looks somewhat soft when it is hot. Lemon curd becomes thicker as it cools and chills.
Add the Butter
Once the lemon curd has thickened, remove the pan from the heat.
Add the ½ cup unsalted butter, cut into small pieces. Add the pieces one at a time and stir after each addition.
Continue stirring until all of the butter has melted and the mixture is smooth.
The butter gives the lemon curd its rich flavor and silky texture. When fully mixed, the curd should look glossy and smooth.
If you are using the optional 1 teaspoon vanilla extract, add it at this stage and stir well.
Strain for a Smooth Texture
For an especially smooth lemon curd, pour the warm mixture through a fine-mesh sieve into a clean bowl.
Use a spatula to gently press the curd through the sieve.
This step removes tiny pieces of cooked egg or zest and gives the finished curd a very smooth texture.
Straining is especially useful if you plan to use the lemon curd as a filling for a cake, tart, cupcake, or pastry.
Even when the curd looks smooth in the pan, straining can make the final texture noticeably silkier.
Cool the Lemon Curd
Place a piece of plastic wrap directly on the surface of the warm lemon curd.
This helps prevent a skin from forming on the top as the curd cools.
Let the curd cool at room temperature for about 20–30 minutes.
After that, transfer it to the refrigerator.
The curd will become thicker as it gets cold.
For the best texture when using it as a cake or pastry filling, allow it to chill completely before spreading or piping it.
How to Tell When Lemon Curd Is Ready
There are three simple ways to check the curd.
Spoon Test
The warm curd should cover the back of a spoon. When you draw a finger through it, the trail should remain clear.
Temperature Test
If you have a kitchen thermometer, aim for approximately 170–175°F (77–80°C).
Appearance Test
The finished warm curd should look glossy and thick while still being pourable.
Remember that it will become firmer after it cools and spends time in the refrigerator.
Tips for Smooth Lemon Curd
Cook Over Low Heat
Gentle cooking is the most important part of this recipe.
High heat can cause the eggs to cook too quickly, which may result in scrambled pieces. Keep the heat low and stir continuously.
Use Fresh Lemon Juice
Freshly squeezed lemon juice gives the curd a brighter and fresher flavor.
Bottled lemon juice may work, but it generally does not provide the same fresh citrus character.